Navigation
Random Favorite Product
Fast Orange
A Must Have for Every Shop
Advertisers
1968 Corvette
Sandblasting, Primer, and Paint
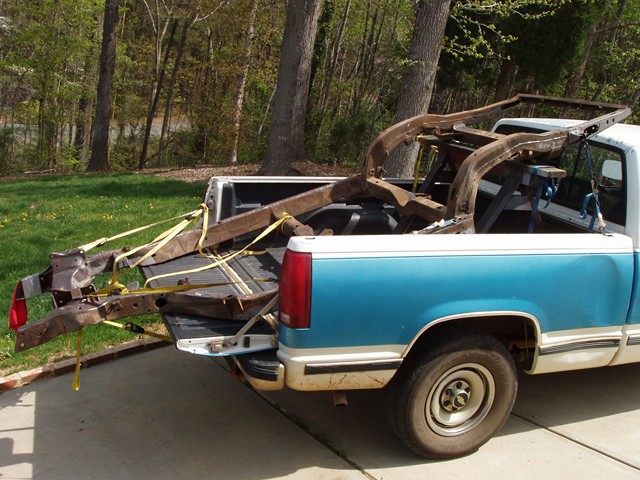
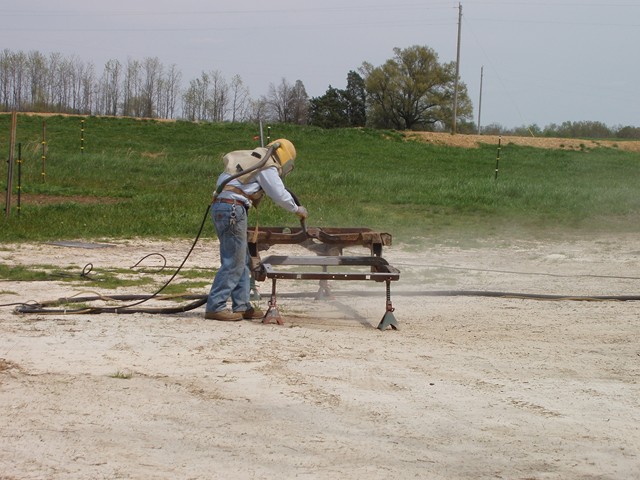
Now that all improvements have been made to the frame, I can move on to getting it ready for painting. I have a good size sand blaster with an 80 gallon compressor but can never get it to work perfectly, so I decided to have someone else sand blast it. After calling around, I received quotes up to $500 and as low as $100 so I ended up going with the less expensive one. He has a mobile sand blaster and offered to come to the house but to lessen the expense, I brought the frame to him. At this time I have not invested in a trailer, so I had to figure out a way to transport the frame while keeping expenses to a minimum. I ended up loading it up in my short bed truck with a saw horse in the back. This way I can transport it without too much hanging off the back.
The company I used is a two man run business that is located in south west Charlotte. They take a lot of pride in their work and it shows in the end result.
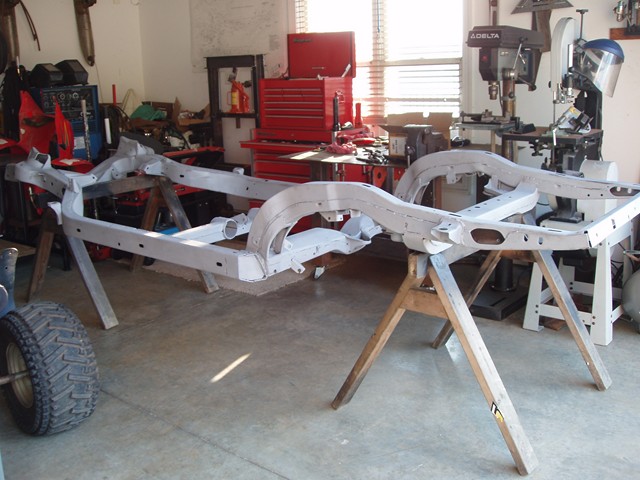
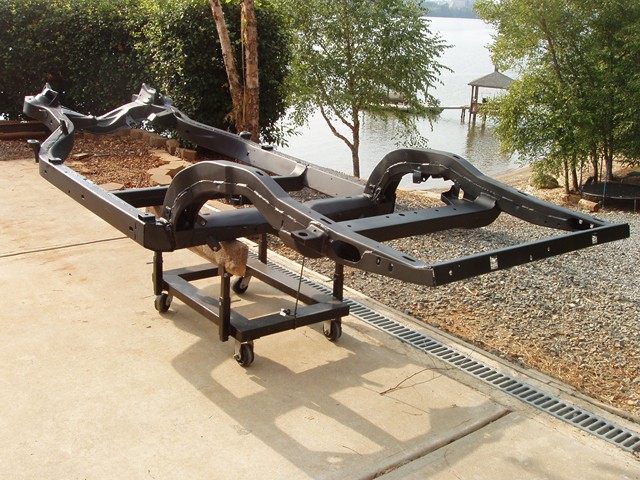
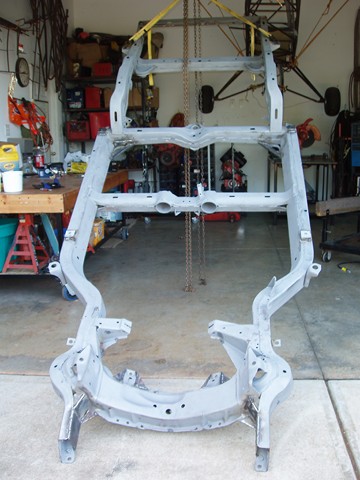
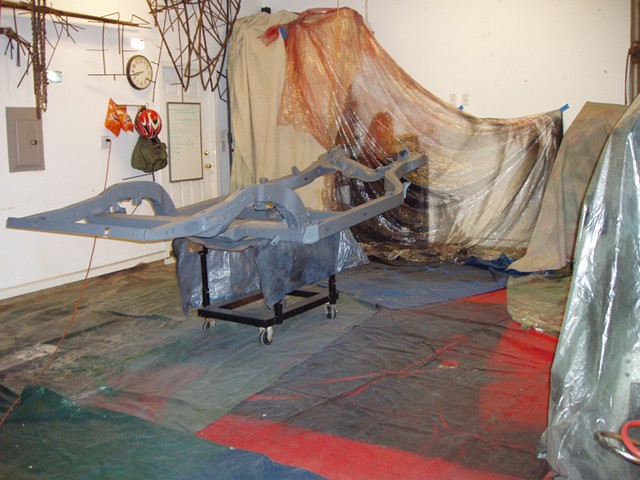
Before getting ready to prime, I wanted to make sure that the frame rails are free of any dirt and sand so no contaminants can become airborne and affect the paint. I used compressed air to blow out the rails and even went to the extent of lifting the frame to the ceiling in both directions to take advantage of gravity at different angles.
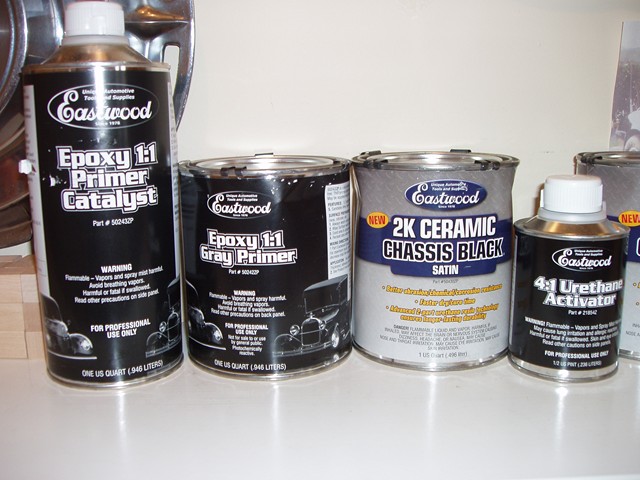
As far as primers and paints go, I ended up going with Eastwood's two part epoxy primer and paint. This and Por-15 are two excellent paint products for chassis restorations. I just felt that Eastwood might be slightly more durable but others may feel differently. Nevertheless, both are very excellent paints. Eastwood has a video on their website that goes into further detail about this paint. The primer is a 1:1 catalyst that works and sprays nicely.
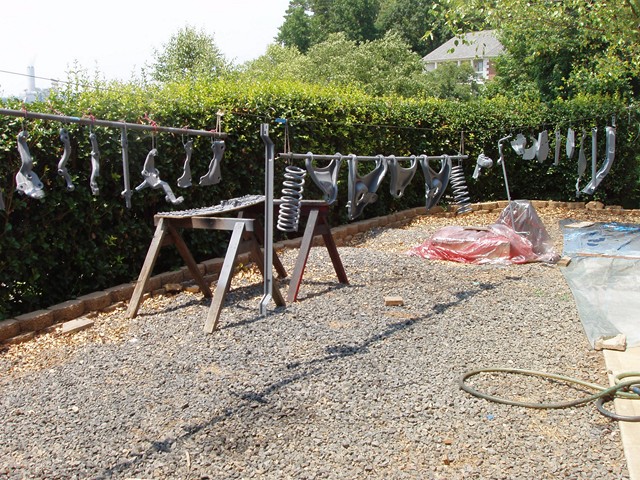
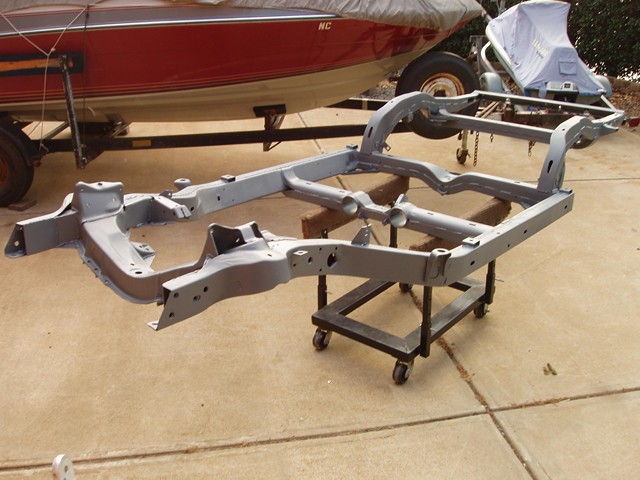
Once I was sure that the frame was free of sand and other debris in the frame rails, I moved on to prepping the bare metal to priming. I used acetone to clean dust and any other contaminants from affecting the primer. Since cleaning the gun and other materials takes a while, I try to paint everything at one time.
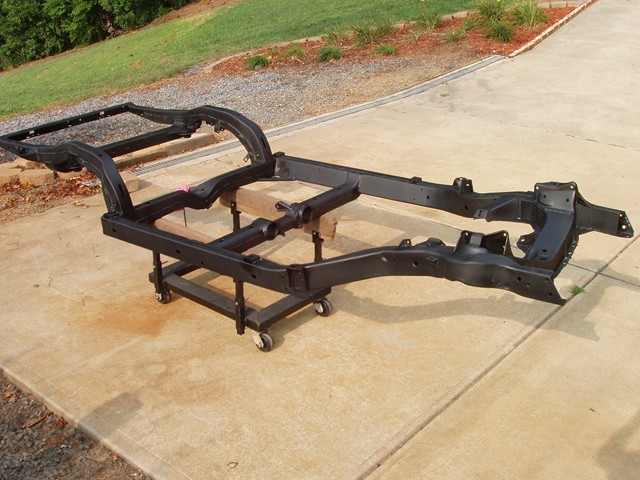
The primer sprayed smoothly and looked stunning.
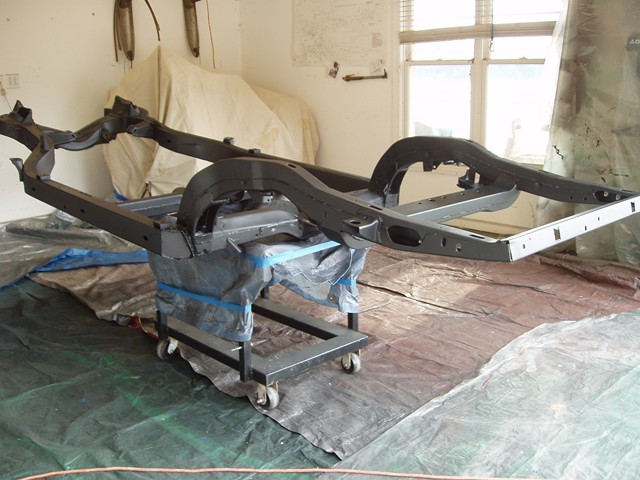
I bought Eastwood's undercoating gun to spray the inside of the frame. This worked with the primer, but unfortunately the paint was slightly thicker than the primer and wouldn't spray out of the end of the nozzle correctly. Regardless, the primer should be enough to do the job. They now sell an aerosol can with a flexible hose attached called "internal frame coating" that sprays the inside of the frame, but I have never used it. I didn't use the paint in the picture because it would leave a waxy finish and I didn't know if it would affect the primer or paint when sprayed.
With everything primed, the next step is to paint. I used Eastwood's ceramic chassis satin black which is a great paint that came out very nicely.

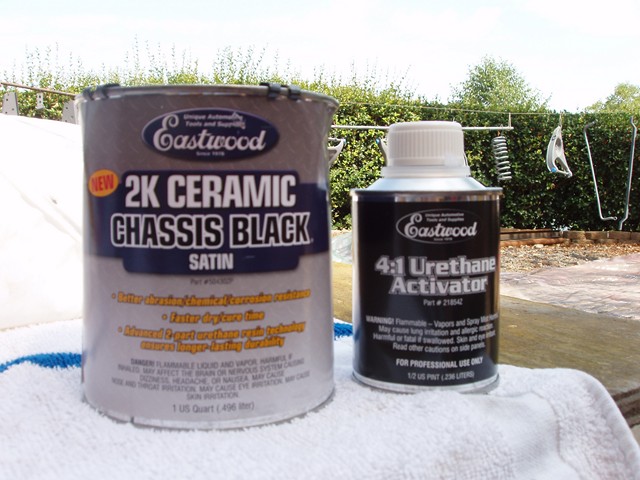
One thing to watch out for is the mixture. The manufacture recommends a 4:1 mixture, but when I did this, the gun sprayed for a little while until it started spitting. When I open up the top, I saw that the paint was hardening too quickly, so unfortunately I had to dump it out to protect it from clogging the gun. That was a $30 mistake. From that point on, I added the activator based off my own judgment rather than the manufacturer's recommendation. Besides that, I was very pleased with this paint and I'm sure I will be using more later on down the road.